Apex Carbon (2 Sizes)
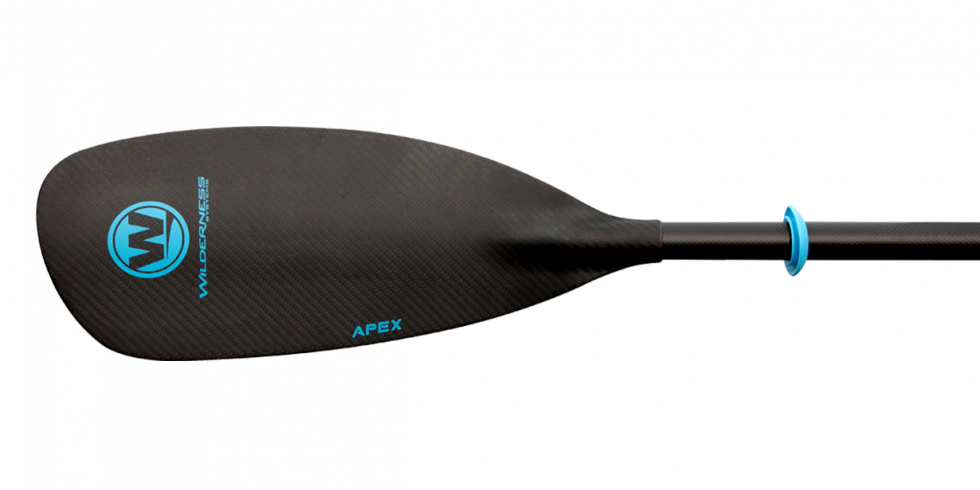
The Apex Rec/Touring Carbon paddle weights just 27 oz and is the lightest option in the Apex series.
Learn More
The Apex Rec/Touring Carbon paddle weights just 27 oz and is the lightest option in the Apex series.
Learn MoreJoin the Wilderness Systems Email Community
Be the first to know about new products, team news and events.


Rigging Your New Kayak
By: Derek D. Akin
So you bought a new kayak, and now you need to rig it. Where should you begin?
Well the first thing I tell people is always wait to drill into your new kayak and add accessories until you have been on the water a few times. Why do say this to them? Simple, if you go and put a bunch of accessories on your kayak before you had it on the water now they are in that spot with holes drilled forever. Unless you or someone you know can plastic weld. This also gives you a few times on the water to figure out where and what gear will work best with your new kayak.
Yes there are some basic things you can add right when you bring your new boat home, not all things have to wait. For instance you can figure out a place to put fish finder, if you use one. On the Wilderness Systems A.T.A.K. 140 it is most commonly mounted on the Flex Pod OS Removable Console. It was designed to be able to mount a RAM MOUNT on it and hold your battery inside by adding the Wilderness Systems Flex Pod OS Electronics Kit. This gives you all the needed hardware to mount a transducer to the bottom of the POD. It also provides a pre-formed piece of compressed foam to hold the battery in place inside of it. You can find this on the Harmony Gear website.
Some other basic accessories that can be mounted when you first purchase your new kayak include:
These basic accessories will help you with keeping your common gear that you take with you on the water secure and located within arm’s reach. They are all removable and or can easily be moved along the preinstalled SlideTrax that come with your Wilderness Systems kayak.
When I received my new A.T.A.K. 140 I had already preplanned a few of my rigging setups based on past experience with other kayaks, and from ideas that others have shared. Using social media you can find groups online that are dedicated to specific brands and models of kayaks. This this may help you greatly to see some of the rigging options and possibilities that others have already had experience for the kayak you have chosen.
Now that you have had your kayak for a while and out on the water a few times, you now have an idea of some of the basic rigging that you might want to install. It could be things like adding an anchor trolley, mighty mounts, additional gear tracks, flush mounted rod holders and so on. With today’s vast array of accessories on the market the possibilities are near endless.
Let’s get started rigging. Here are some questions to consider before ordering your accessories for your kayak:
These questions are all very important to ask yourself. The list could go on and on, but those four questions should be help you decide what is most important for you on the water. You can always add additional equipment after more time on the water. Sometimes adding a few items at a time is best, as that way you make sure that you are getting everything in its proper place and not crowding your reach and deck space on the kayak.
One of the first and most important items to be added should always be a paddle leash. This helps keep your paddle secured to your kayak, and in some areas is required. It is an inexpensive item and very worth it. Although most modern paddles float when in the water, you should always have it leashed to your kayak.
The second item that I always make sure to add is a YakAttack Visicarbon Pole with Flag to a kayak. This helps you to be seen day or night on the water. It provides a high visibility flag for daytime use, and a lighted top for night fishing or paddling.
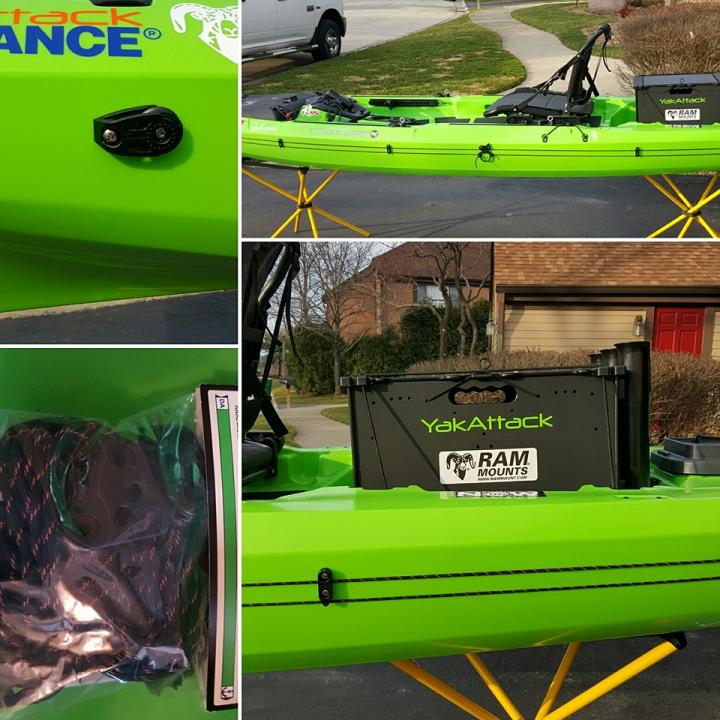
One of the biggest things to decide is if you need an anchor trolley or not, and what type. There are many different types offered on the market from standard installs to no drill types. You then have to figure out which side of your kayak the anchor trolley will work best for you. I prefer the YakAttack LeverLoc HD Kit. This allows you to lock your anchor trolley line in a specific position and hold it there without the use of a cleat. It also holds the line in place during transport.
Some of the hardest decisions to make can come when it is time to decide where to add Mighty Mounts to your kayak or extra Gear Tracks. These give you the ability to mount cameras, rod holders and many other accessories in specific places. When mounting these products you also have to decide if you will need the backing plates for them or not. When deciding on this think of what you will be mounting where. If you will be mounting a rod holder there and trolling with it, then you will need to add the backing plate. However if it will just be holding a small action camera or something light duty, than you will be fine without adding the backing plates.
Many kayak anglers have found it useful to install flush mount rod holders on their kayaks. These can provide many different uses with today’s accessories on the market, from holding fishing rods to high rise rod holders. If you decide to install them make sure to layout where you want them, and measure twice by rule. As you will be making a significant hole in your kayak to install them.
With my current A.T.A.K. 140 I took my wiring to a different level this time. I added a battery voltmeter to the Flex Pod OS so that I could monitor the charge on the battery powering my fish finder. I found this very useful as I also use it as a GPS for open water fishing. Next to the voltmeter I added a dual USB port so I could charge my cell phone or other devices if needed while on the water. In the rear of the kayak I also added another battery to power two Waterproof USB ports which power my action cameras on my kayak. This provides a direct power source to them for all day filming on the water without having to change the batteries.
When you are finally ready to rig your new kayak or maybe even just add some accessories to your existing one, there is one thing that can be rather intimidating for many kayak anglers. Drilling that first hole in their kayak. Yes this can and more than likely will be rather intimidating, but rest assured that there are plenty of products on the market to help you make it water tight at those points. Whether it be the use of a well nut, rubber gasket or marine grade silicone.
Remember before rigging to take your time and choose wisely. There is no rush, and make sure that you add the accessories that will truly benefit your needs on the water.