Apex Carbon (2 Sizes)
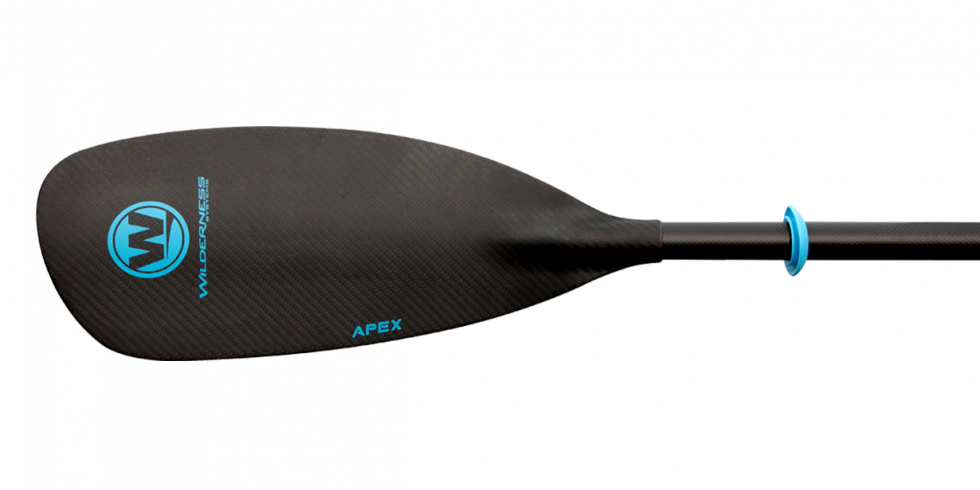
The Apex Rec/Touring Carbon paddle weights just 27 oz and is the lightest option in the Apex series.
Learn More
The Apex Rec/Touring Carbon paddle weights just 27 oz and is the lightest option in the Apex series.
Learn MoreJoin the Wilderness Systems Email Community
Be the first to know about new products, team news and events.

Let’s start at the beginning.
This past summer I decided that I had finally had enough of not being able to put any kind of decals on my 2000 Wilderness Systems Pungo. You see, because of the pebbled surface the only place that any decals would even stick was on the bottom half because that surface came from the factory nice and smooth. The top half was another story all together. So this past summer I decided that I needed to “knock down” those pebbles so that it was nice and smooth. It all started with some 80 grit sand paper and a palm sander.
Once I got the pebbled surface mostly smooth (but not smooth enough for decals) I switched to some 220 grit “wet and dry” paper and started wet sanding and then washing and then wet sanding and then washing and then wet…. Well, you get the idea.
Ugh. My arm is going to fall off!
Then after lots of the aforementioned sanding, and a final wipe down with some isopropyl alcohol, I could finally add some decals.
I finished off the rest of the season with no issues from the decals.
Fast forward to January 2010…
With all of the water around me frozen solid I’m going totally bonkers not being able to easily go yakfishing I decide that now is the time for the revamp I have been knocking around in my brain case for a few months or so.
The following is what I did and how I did the new paint job.
I started by taking everything off of the Pungo like the rigging, Scotty mounts, rod holders, foot braces and seat.
Next I started scraping off all of the “old” decals and things that I have painted on the kayak in the past.
That left me with this empty shell of a Pungo… A blank canvas if you will.
I needed to do a little prep work to the surface in order for me to begin the painting process. Here is what I used for that.
After about an hour of sanding and a quick wipe down I was ready to start the camo on the bottom. I used cheapo rattle cans for the bottom because it’s just going to get beat up when I get back out on the water in a month, so it’s not worth using anything expensive. I always hear “Oh, you should use that Fusion stuff that’s for plastic.” No. I have used it and that stuff is almost twice as expensive and it scratches off just as easily from the surface of rotomolded polyethylene. Plus, it’s also harder to use and doesn’t spray as nicely... so why use it? Don’t. Anyway I digress. I only used two colors from the can, a reddish brown used as a metal primer and a dark green. The rest of the colors were added by hand and brush using an assortment of acrylic paints. After drying overnight I then sprayed on a few coats of semi-gloss clear.
After allowing a sufficient amount of time for the clear to dry, I went to town on it with some 220 grit dry sand paper so help smooth out the surface as much as possible. It has been abused for 10 years after all. So it’s not going to be perfect by any means, but I want it to be as good as I can get it for speed and glide sake. Oh, and you’re going to get messy doing it and probably not be allowed in the house.
Once I cleaned up the mess left behind (on the kayak and myself) I was ready to tape off the bottom in preparation for laying down the base color for the top half of the Pungo.
After getting the bottom all covered I flipped it over and taped off the handles. (Gratuitous Wilderness Systems plug in the background.)
Next I sprayed the base coat of orange. Once again, using some cheapo rattle can stuff.
Then after some more dry time I started to add, once again by hand and brush, the secondary colors of yellow and red blended with varying amounts of orange.
After adding in the other colors I sprayed a very light coat of orange over the entire surface to tone down the color intensity a little. Then once I was happy with the look, I took off the tape and ran over the surface very well with a tack cloth to pick up any debris that may have found its way onto the surface then I hit it with another coat of clear. Let that dry overnight and then the next day I very lightly sanded the entire surface with some 220 grit dry paper.
Once I was done with that round of sanding I washed the entire kayak and let it thoroughly dry. Then with a new tack cloth I went over the surface to make sure nothing was there that would end up imbedded in the paint for the next step. With the Pungo nice and clean I then set about the task of taping out all the stripes.
Then using more El Cheapo black spray paint I put down a few coats on the open spaces.
Not allowing the black paint to dry, I then quickly, but carefully, removed the tape.
After letting the black stripes dry overnight I put down another coat of clear and after about an hour or so of drying I painted the “Flying Tigers” nose art back on.
Then I moved onto the other hand painted and decaled bits...
Once all the decals were on and the painted pieces were completed, I wiped the whole thing down with another new tack cloth and shot two coats of FLAT clear coat... this time I used the good rattle can stuff because with clear coat, especially the final coats, the good stuff will spray much better and not shoot big drops onto the surface the way some of the cheaper cans of clear coat seem to do. I let the whole thing sit now for a few days to ensure that everything had more than ample time to dry.
Then I started to put it all back together.
I started with the old paddle clips. I was going to replace them because they were getting “blown out” from 10 years of use, but in the end I decided that all they needed was a little “re-education” in the form of some heat.
When you reinstall them start the nuts on the backside but don’t tighten them down yet...
Now put your paddle in them so that when you tighten them down they will be in line with the paddle.
Next I installed the flush mount rod holder in the back deck and my four flush Scotty mounts. (Which I will be replacing with RAM MOUNTS soon) I don’t want to go into too much depth about the instillation because they were installed a while ago, but I would like to say that if your adding anything like that its best to pick your placement and then drill out the large hole with an appropriately sized hole saw attached to a drill and then drill the holes for your bolts (or whatever you have to use) ONE AT A TIME AS YOU INSTALL THEM because if try and drill all four (or however many) holes first and then attach the mount, the holes will probably be off by the time you go to screw in the third one.
The next thing to get put back on was the front and rear deck rigging. When I took it off at the beginning of this whole process I marked the shock cords so that I would know which one was which because they were slightly different lengths.
Next were the two eye bolts that serve as the bow and stern attachment points for my anchor trolley. Plus it gave me a good reason to do some “SINK spelunking” in order to get the bolt on the bow attached.
At this time I also took the time to fix the ONE AND ONLY gripe I have had about my Pungo... the right foot peg was really hard to move in either direction and made “on the fly” changes while out in the field really hard to do. Sense I had it all apart I decided to check it out and I noticed that the little black blocks were not all even with eachother.
I folded a small scrap piece of sand paper and sanded the inside of the brace...
And in a few short minutes, viola!
Then I installed the foot pegs themselves and added a small drop of marine grease into the channels, worked the pegs back-and-forth a few times…
and it’s now smooth as silk. So then I installed them. Notice that one of the bolts is longer than the other… Photobucket
That longer one goes to the front of kayak to prevent the foot peg from sliding off to the front by sticking up into the track. The shorter one is short enough to not interfere with the peg sliding off towards you for maintenance and whatnot.
And then last but not least the seat went in… that was one of those easy “installation is the reverse of removal” kind of things.
And there you have it... After about what i estimate to be around 50 to 60 man hours of actual work time… DONE.